Summit
Summit tryhackme basic Malware Analysis room walkthrough
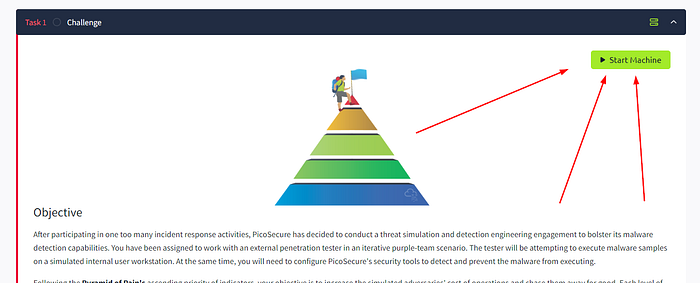
Objective
After participating in one too many incident response activities, PicoSecure has decided to conduct a threat simulation and detection engineering engagement to bolster its malware detection capabilities. You have been assigned to work with an external penetration tester in an iterative purple-team scenario. The tester will be attempting to execute malware samples on a simulated internal user workstation. At the same time, you will need to configure PicoSecure’s security tools to detect and prevent the malware from executing.
Following the Pyramid of Pain’s ascending priority of indicators, your objective is to increase the simulated adversaries’ cost of operations and chase them away for good. Each level of the pyramid allows you to detect and prevent various indicators of attack.
Challenge Start
Start by clicking on the green Start Machine box in the top right of the Task 1 section.
You will get a URL which you can browse in your own machine and you will get some dashboard.

Analyse Sample 1
Here we have different samples. First we will analyse sample 1.
we have the instructions. Scan this file using the Malware Sandbox tool and review the generated report. Maybe there's a unique way for you to distinguish this file and add a detection rule to block it. Once you manage to do so, I'll be in touch again. Click on sample 1. It will open a malware sandbox. Here you can select your sample and generate the report.

We can see the sample analysis report. Here metasploit has been detected.

Click on the left menu bar and go into the hashes window.

Here you can add hashes to block list. So, add the hashes to block list.

You will get a new emai alert.

Check the email and here we have our first flag. And the second sample as well.

Analysing sample 2
Similarly, generate report for sample 2 in the malware sandbox.
Here we have hashes as well as some network activity.


Go into firewall rule manager and block the malicious IP and port.


As soon as you add the rule, you will get a new email with flag and 3rd sample.

Analysing Sample 3
Analyse sample 3 in the malware sandbox.
Here we have some malicious connections including DNS request to a malicious domain which we need to block.

Go into the DNS rule manager and block the domain.

We will get our flag and sample 4 in the email.

Analysing Sample 4
Analyse the sample.
For sample 4, some registry activity has also been reported. The sample is actually trying to disable real time monitoring and trying for defence evasion.

Here, we are going to create a sigma rule to detect the malicious activity. Select sysmon event logs.

Select registry modification.

Now add the registry key.

We will get an email with flag and the final sample which is a log file.

Analysing Sample 5
Open the attachement and we have a number of logs.

Looking over the outgoing_connections.log file, lets find some patterns. Starting with the Destination Column the IP address 51.102.10.19 appear a lot. Looking at the Date and Time column in correlation to IP address that appears, it seems to occur every 30 mins. Next shifting over to the Port column, we can see that the connection always occurs over port 443. Lastly, looking at Size column, the Packet Size always sticks to 97 bytes. We should have all the information we need to create a Sigma rule to detect this type of traffic, let’s head over and create it.
Create a new sigma rule.
This time we are going to create a sysmon rule for network connection.

This will not work as attacker is changing IP and port. So add the following rule.

We will get the flag and the next sample
Final Flag

Parsing through the log, we can see that Sphinx has their malware sending information to %temp%\exfiltr8.log file. This should give us enough information to create a Sigma rule. Let’s head over and make one.

We will get the final flag in the inbox.

Last updated