> For the complete documentation index, see [llms.txt](https://notes.cavementech.com/pentesting-quick-reference/llms.txt). Markdown versions of documentation pages are available by appending `.md` to page URLs; this page is available as [Markdown](https://notes.cavementech.com/pentesting-quick-reference/active-directory-pentesting/active-directory/bloodhound/bloodhound-ce.md).
# Bloodhound CE
How to Install Bloodhound CE on Kali. Newest Sharphound collectors only work with bloodhound CE
Bloodhound CE is the latest version. Sharphound collectors do not work with the legacy Bloodhound.
## New Method
### Installing and Launching BloodHound
{% embed url="" %}
Before you ingest the data you collected, you need to spin up the BloodHound infrastructure (the web application, the Neo4j graph database, and the PostgreSQL app database).
With the new CLI, this entire process is automated.
**1. Download the bloodhound-cli release from Github:**
Link:
Be sure to download the correct version for your machine. For a standard Kali Linux install on Windows or Linux, you will want to download `bloodhound-cli-linux-amd64.tar.gz`
**2. Unzip the the tar file:**
```
tar -xf bloodhound-cli-linux-amd64.tar.gz
```
**3. Add the bloodhound-cli to your Path**
This allows you to use the bloodhound-cli binary from any folder on Kali Linux
```
sudo mv bloodhound-cli /usr/local/bin/
```
**4. Launch the bloodhound-cli**
```
sudo bloodhound-cli install
```

**5. Capture the Credentials**
The CLI generates a secure, randomized initial password for you. Wait for the containers to report a Healthy status, and the CLI will output your credentials at the end of the run.
If you accidentally clear your terminal, you do not need to reinstall - just run this command:
```
sudo bloodhound-cli config get default_password
```

**6. Access the Interface**
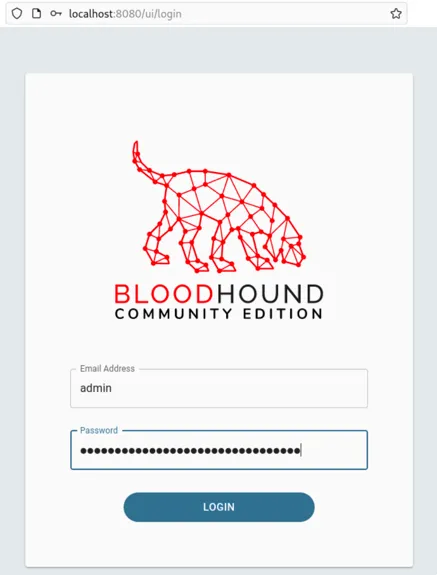
Link: `http://127.0.0.1:8080/ui/login`
With the services running, open your web browser and navigate to the BloodHound GUI to log in with the `admin` username and your generated password. After login you will be prompted to set a new password.
### Clear Previous Data
We have to go to admin management and clear the data
## Old Method
{% embed url="" %}
{% embed url="" %}
### Install Docker compose on Kali
```
sudo curl -L "https://github.com/docker/compose/releases/latest/download/docker-compose-$(uname -s)-$(uname -m)" -o /usr/local/bin/docker-compose
```
```
sudo chmod +x /usr/local/bin/docker-compose
```
### Launch the docker
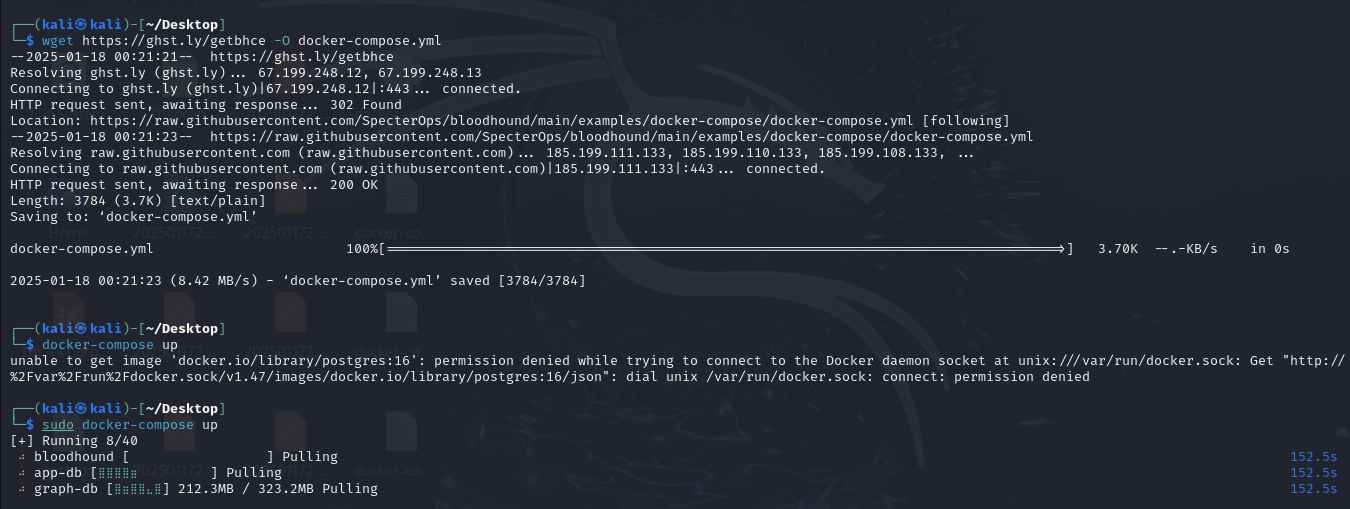
First download the compose file
```
wget https://ghst.ly/getbhce -O docker-compose.yml
```
Then launch the container
```
docker-compose up
```
We will get some initial password.
Then visit the following link to access it.
{% embed url="" %}
Login with user admin and given password
Then upload data from admin panel.